

SenexPay provides you with a single Wallet that combines excellent services, competent security, and 24/7 support for your Bitcoin, Tether, Ethereum, and other digital assets. Buy, sell, send, and receive with no worries. The SenexPay team has your back.
Follow along in this extensive guide that captures the process in a few easy steps.
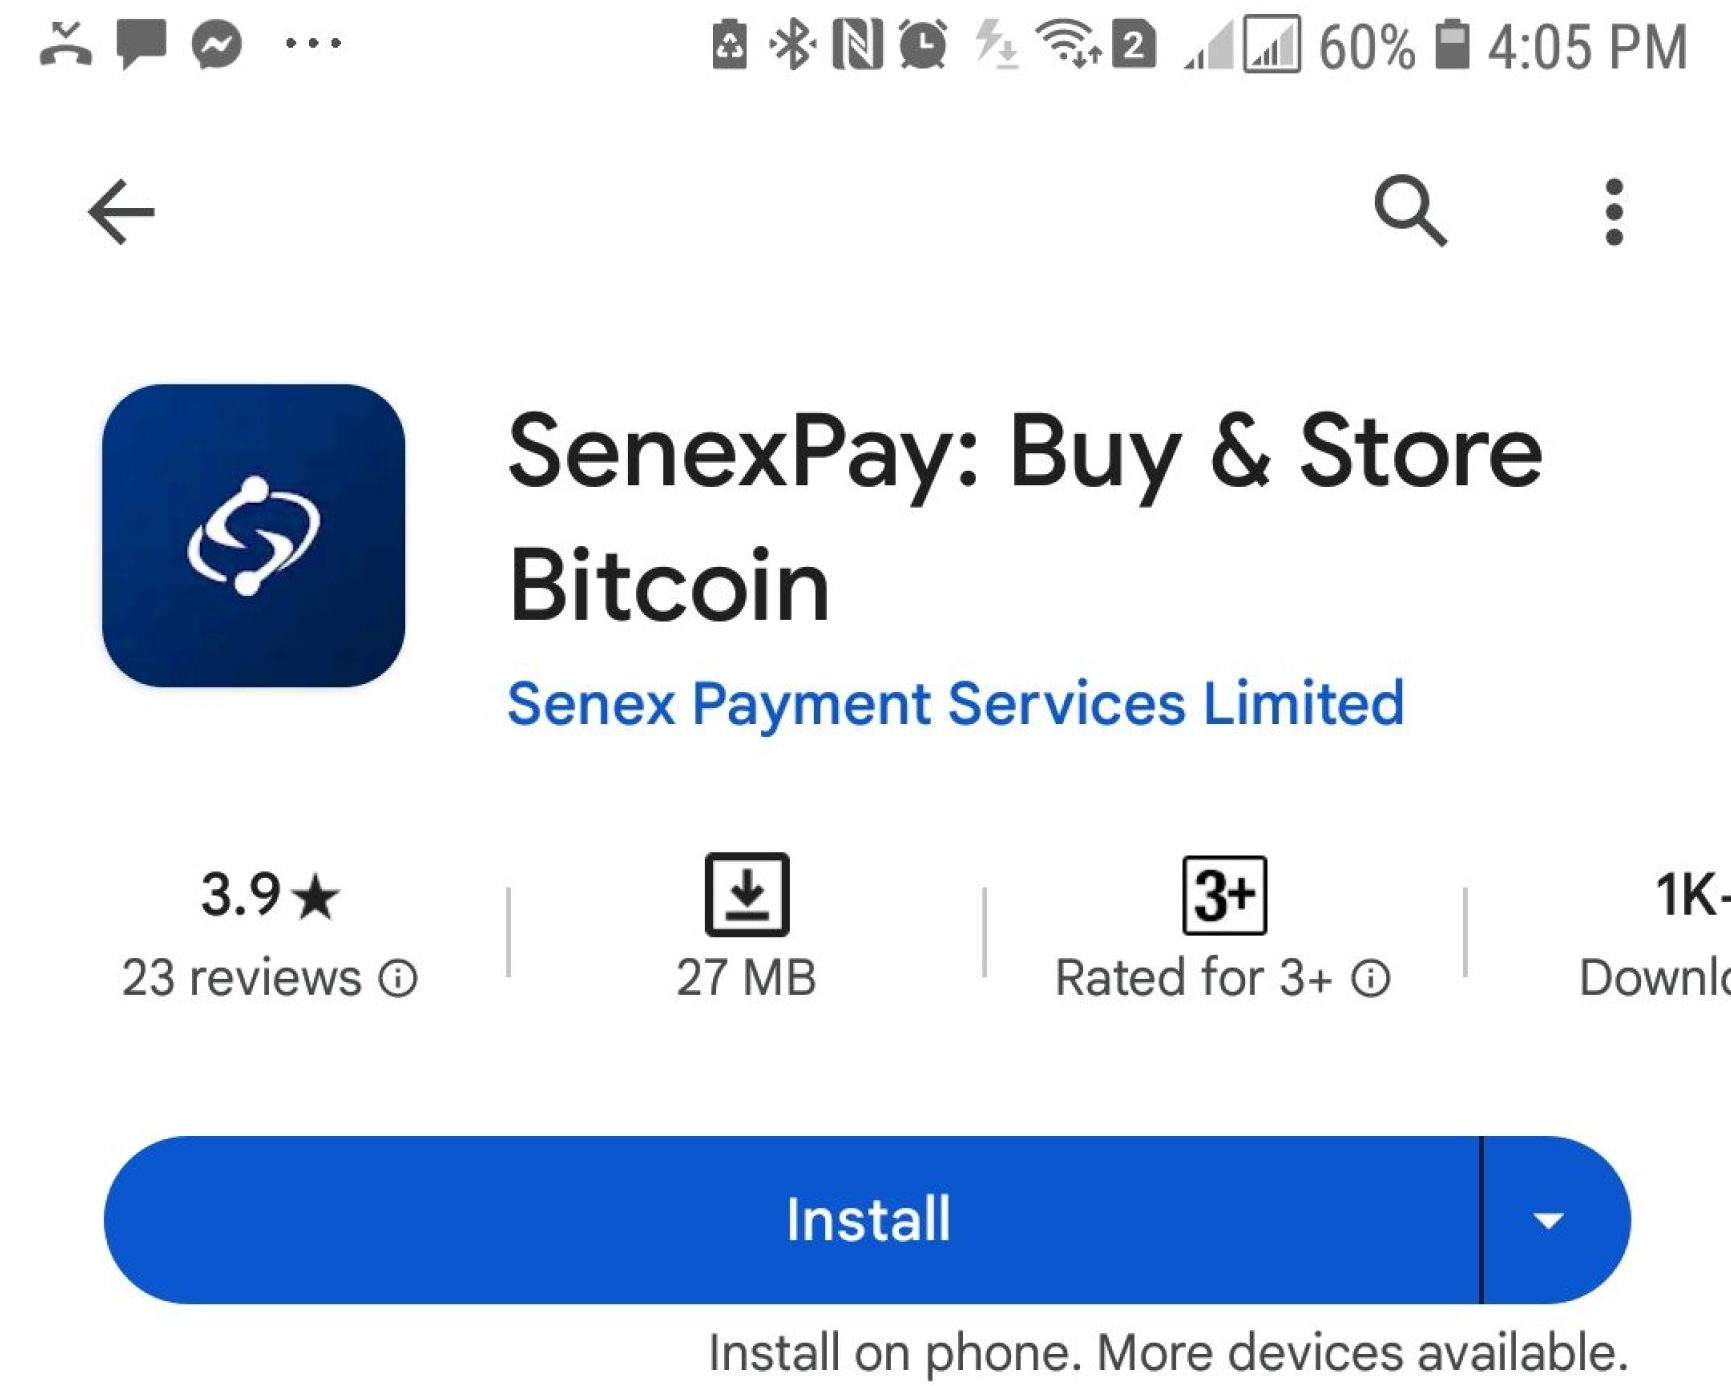
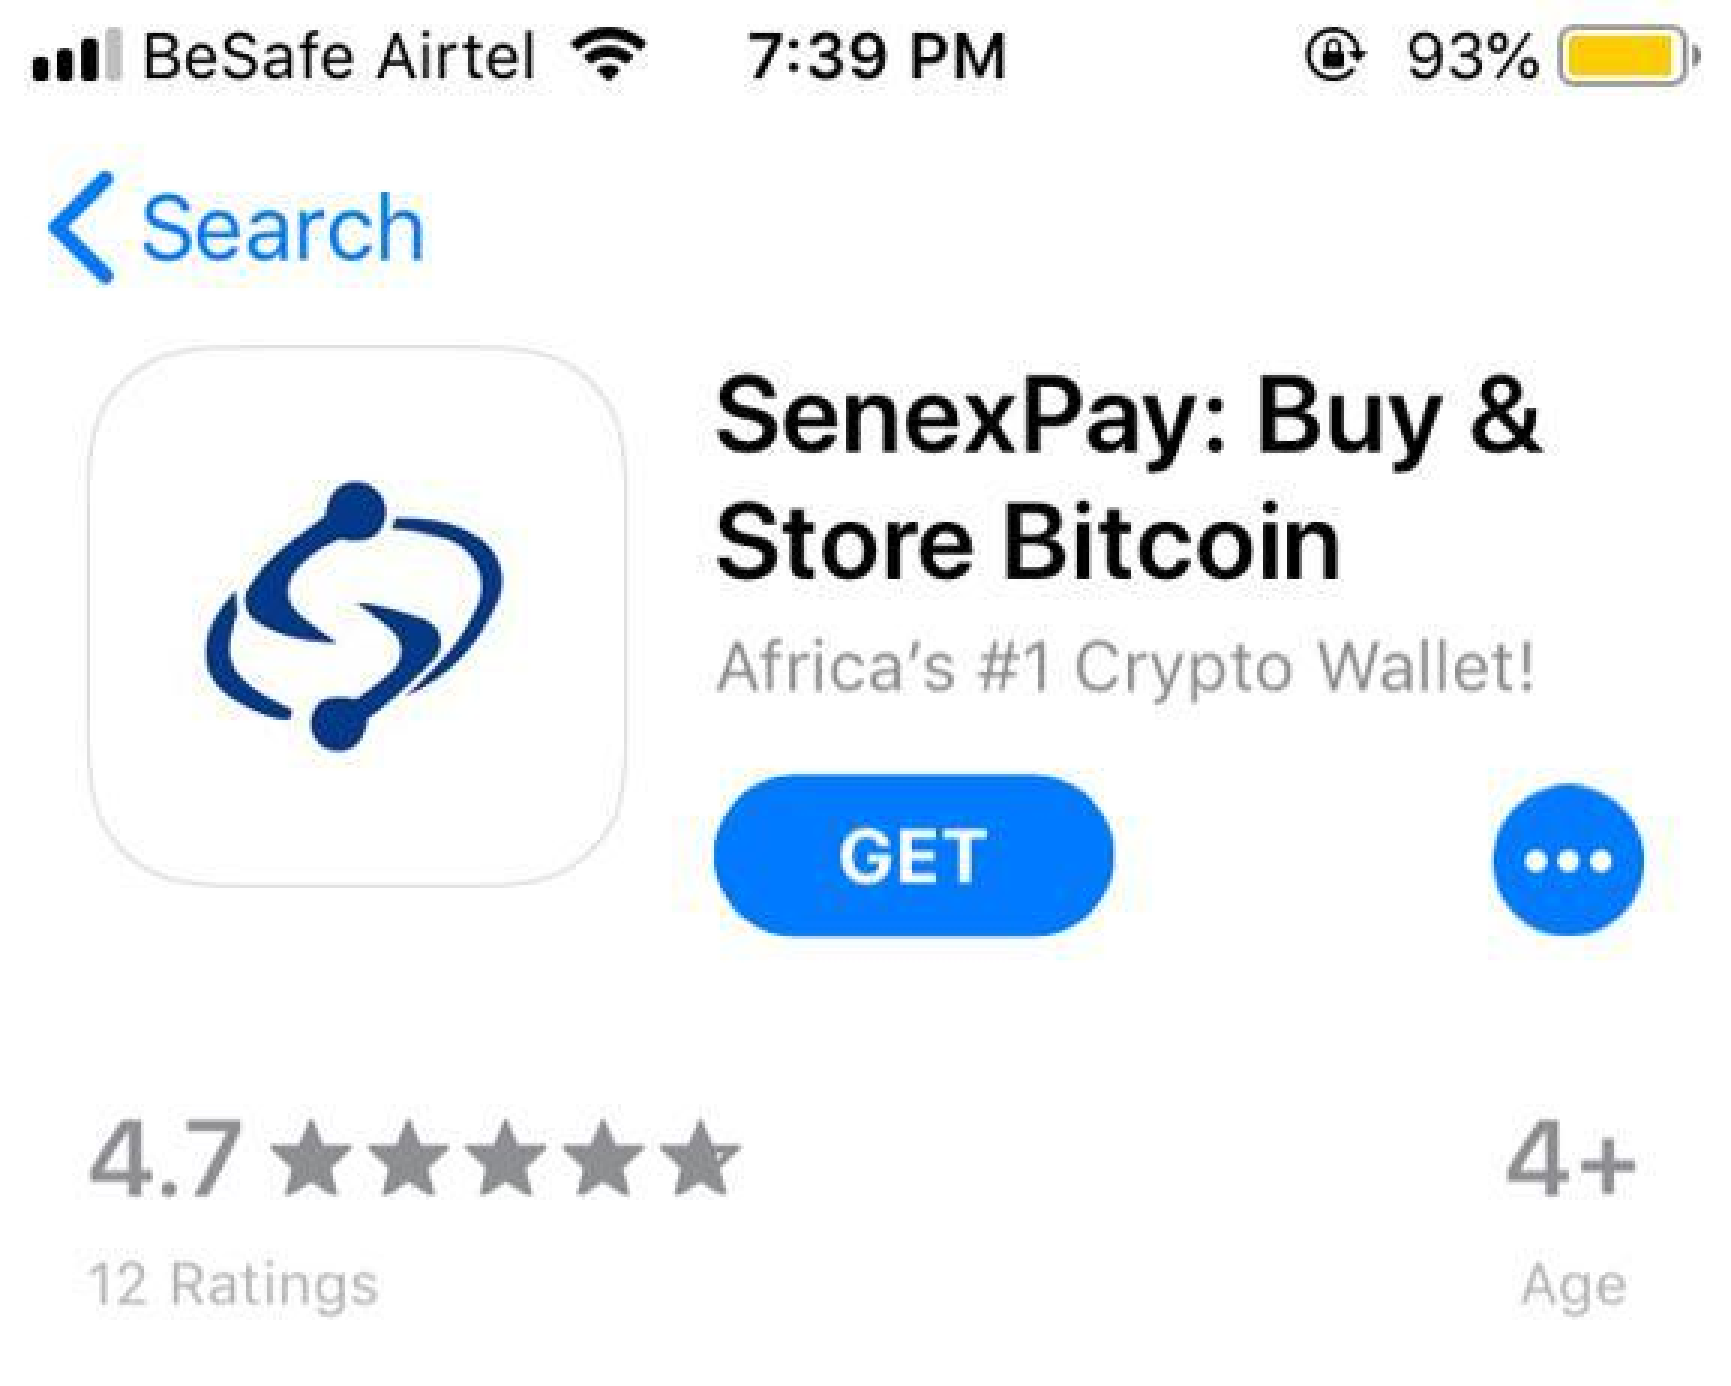
Ensure you already have our app on your device. If not, download it from AppStore (iPhone, iPad), or PlayStore (Android) by searching for SenexPay. You can also visit senexpay.com (Chrome, Firefox, Brave, etc.).
1. Launch/visit SenexPay.
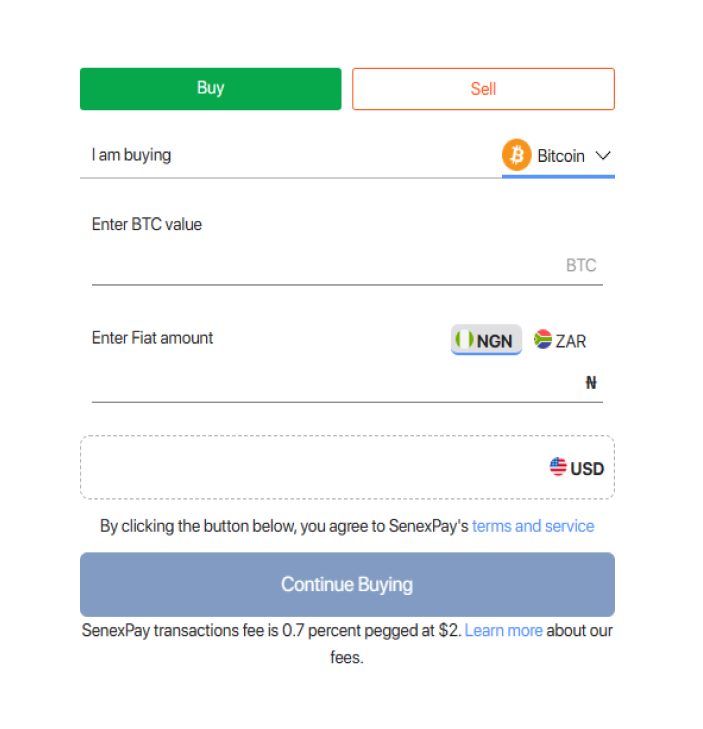
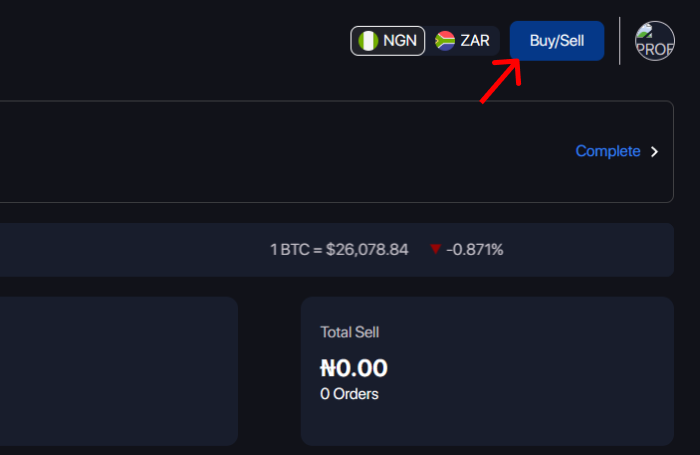
You can also select the Buy/Sell button at the top right of your dashboard on the web browser when logged in or visit senexpay.com on your browser and select the Buy button in the second section of the page

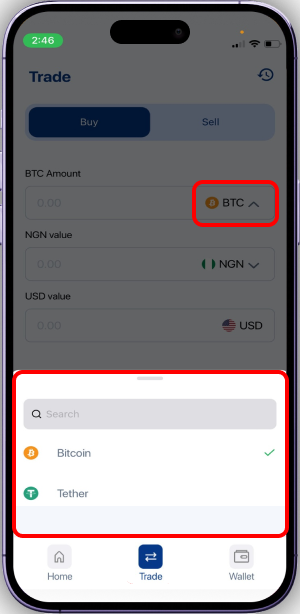
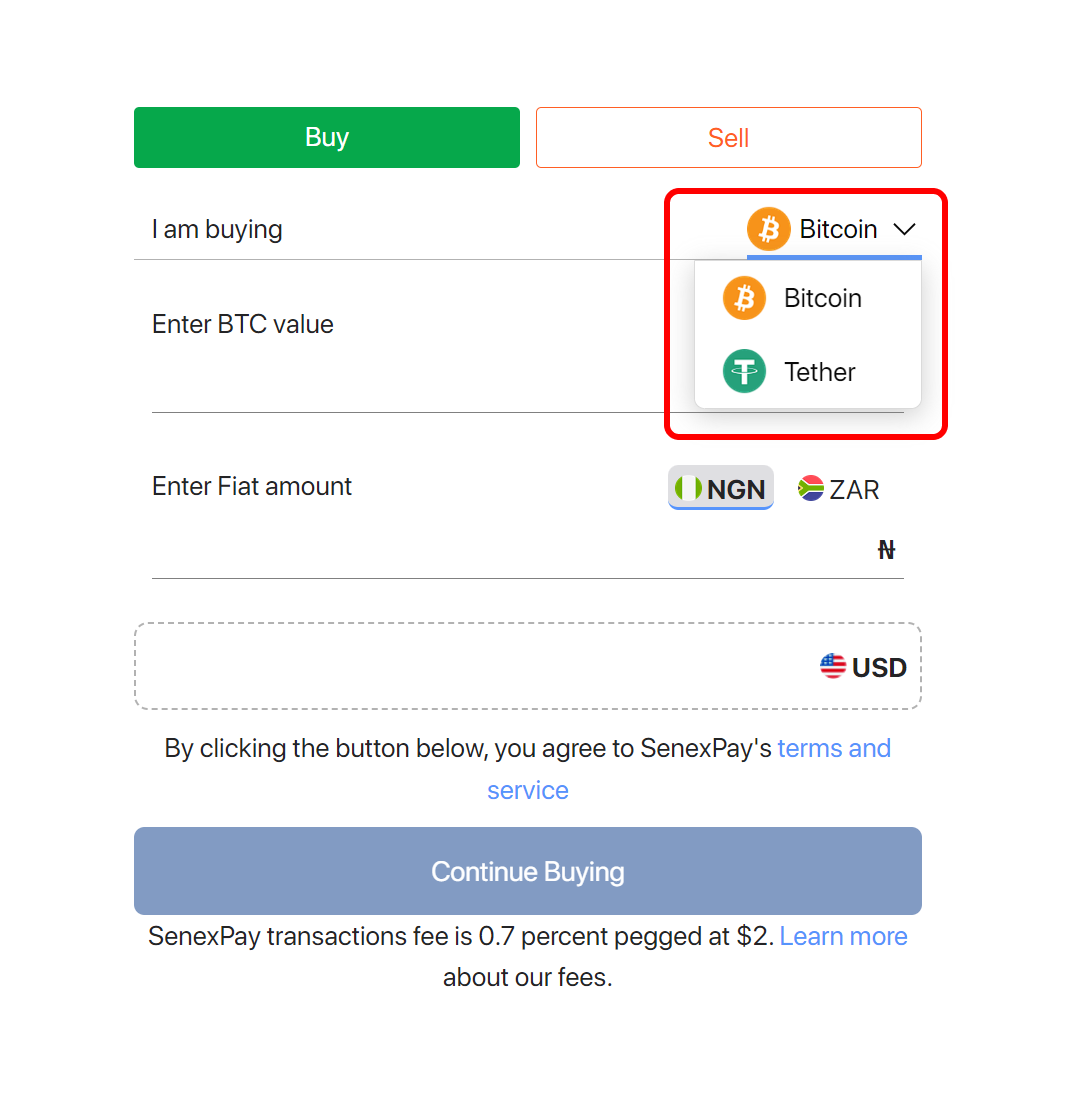
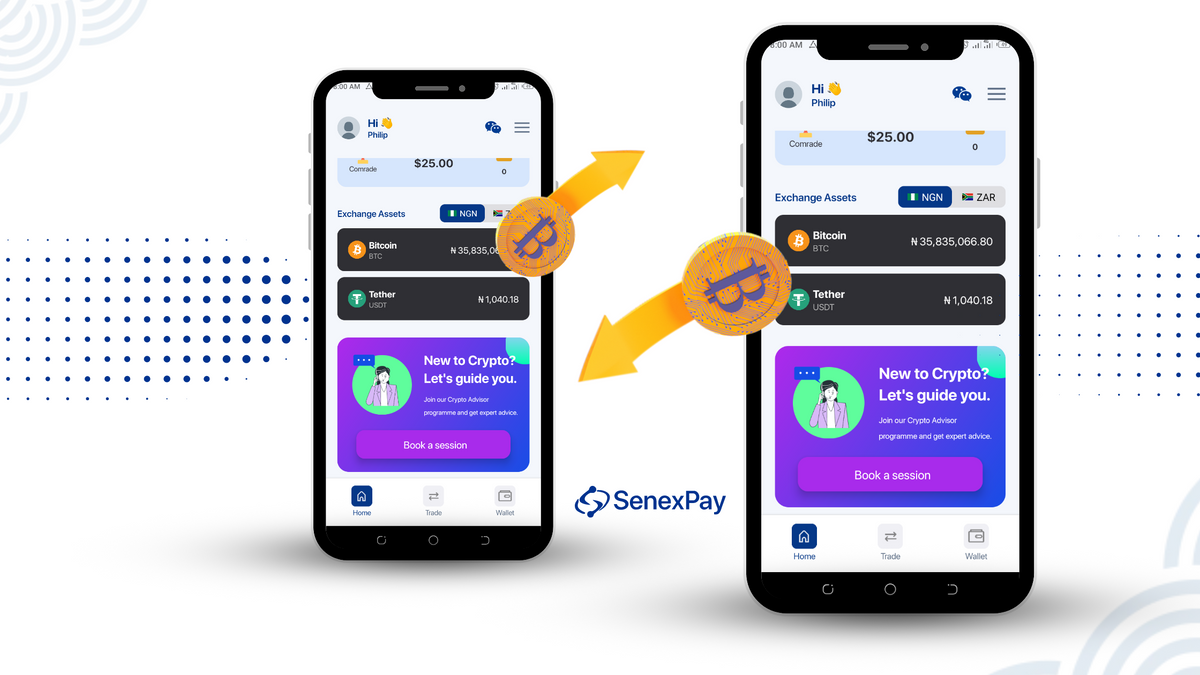
2. Pick a cryptocurrency.
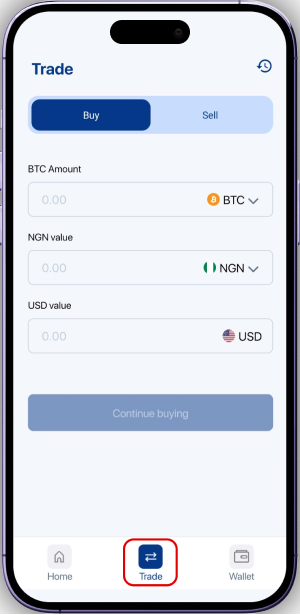
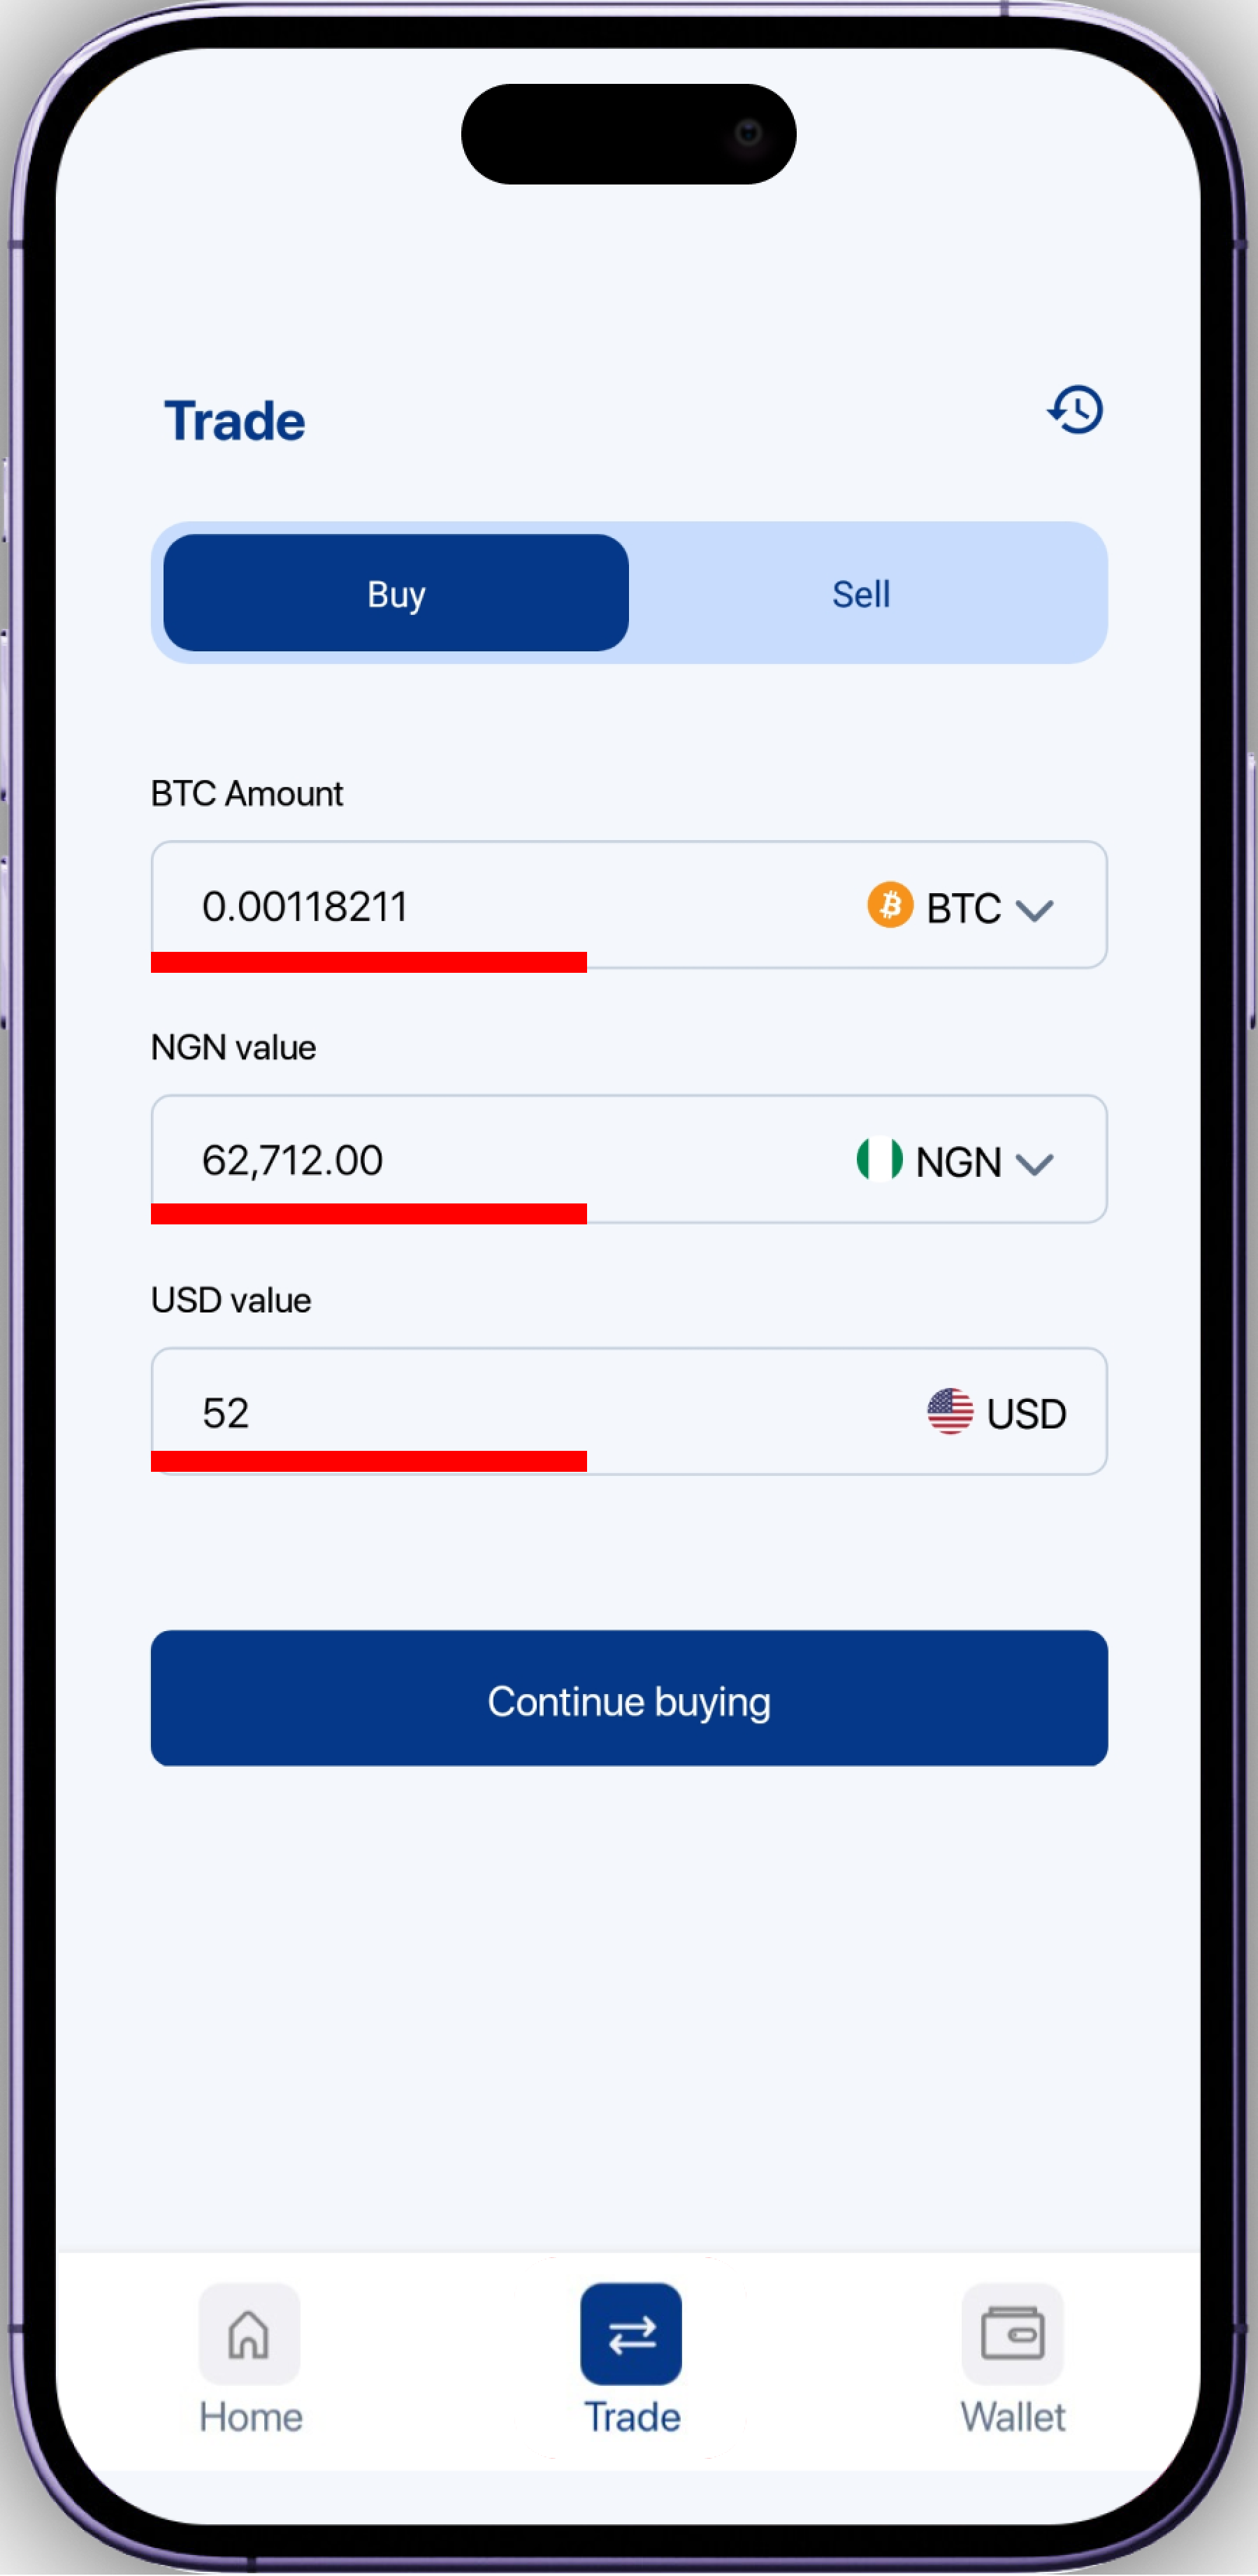
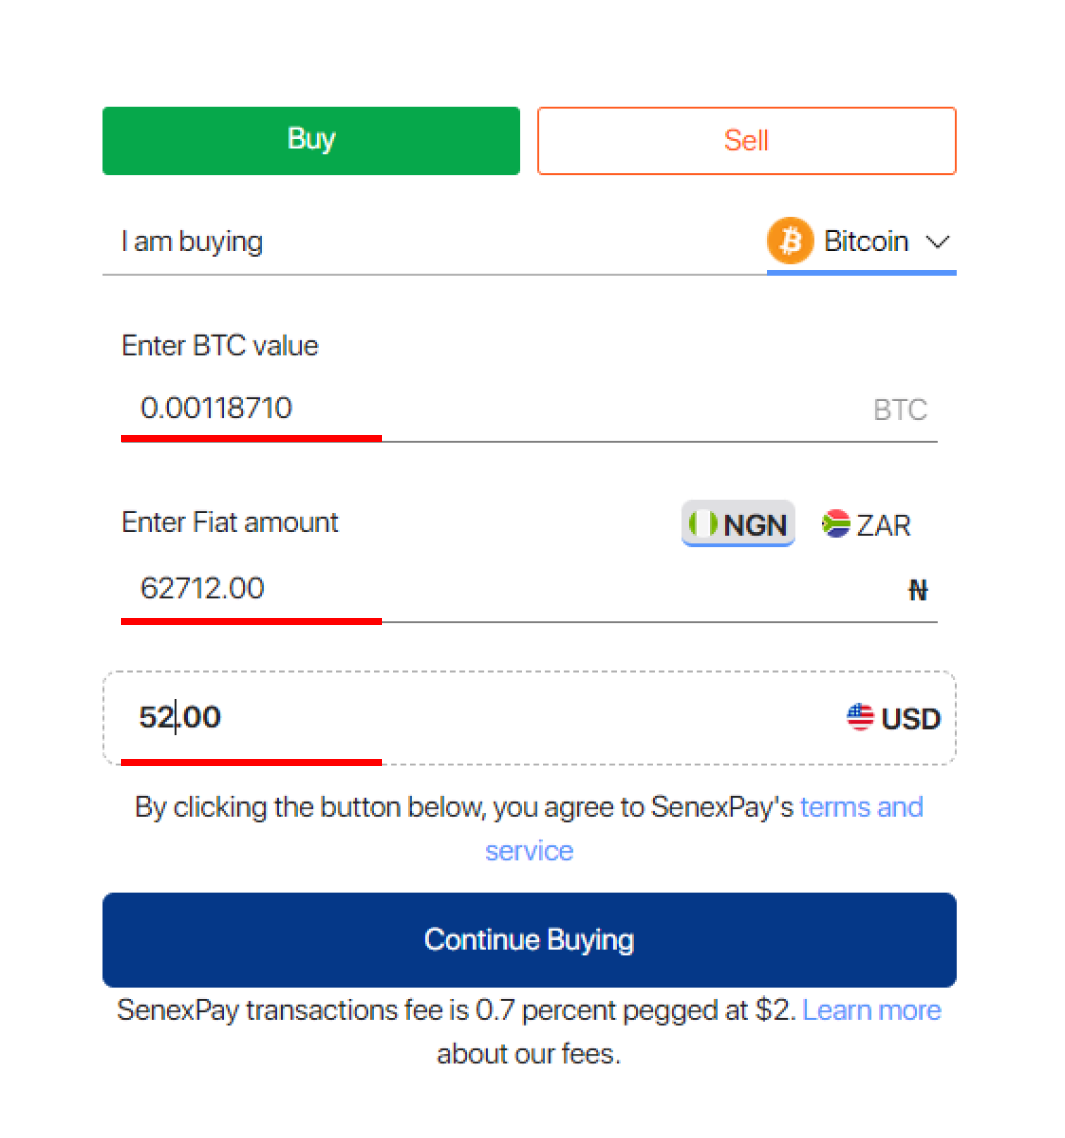
3. Enter the purchase amount
Assuming you choose to buy BTC, fill in the value you wish to purchase in either of the columns below. This automatically generates the respective Naira and USD equivalents in their respective fields. Then click on the "Continue Buying" button to get to the next step.
NB - Filling either the Naira or USD field also automatically fills the other values respectively.
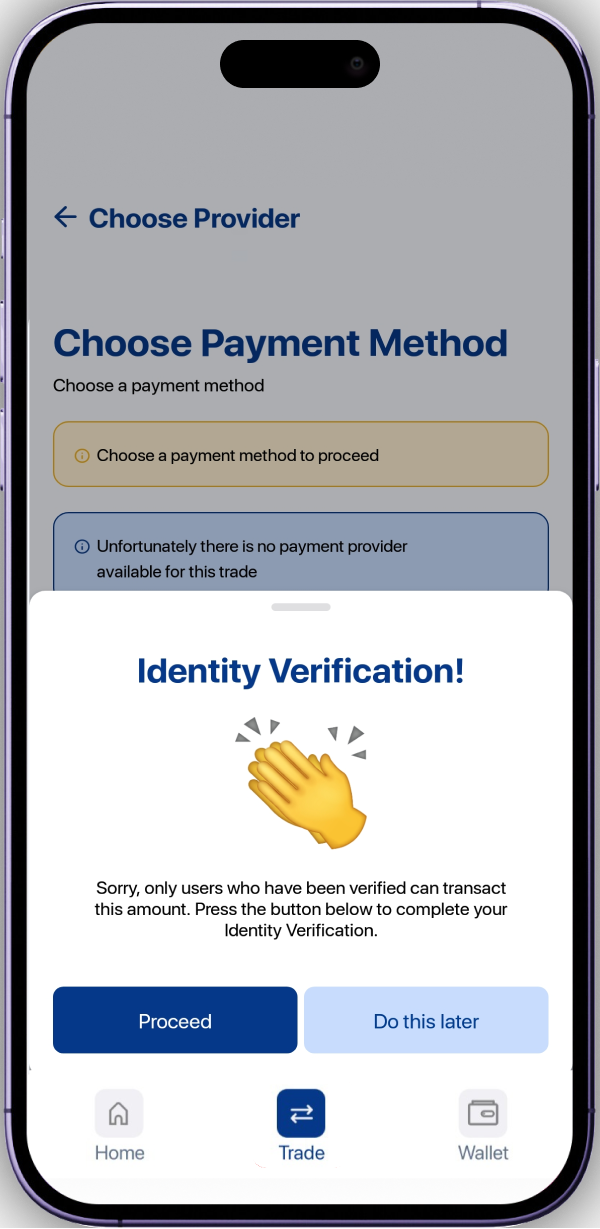
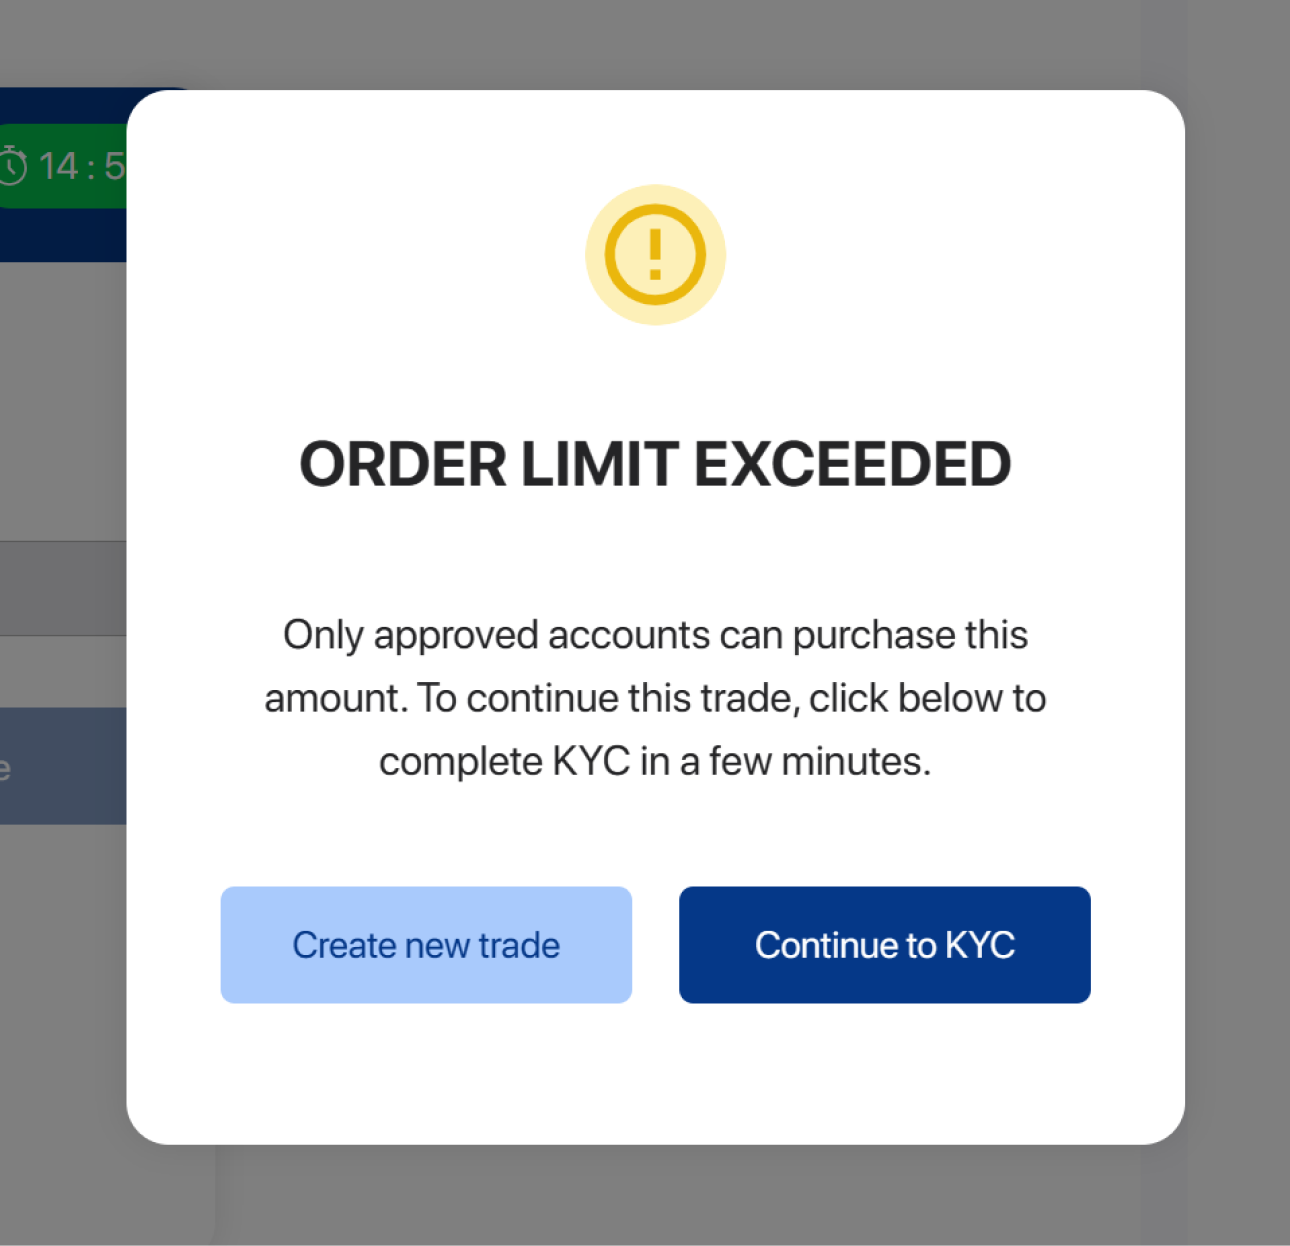
NB - For compliance with government regulations, if you haven't completed your KYC, you will be limited to a fixed value and on surpassing it will be shown a screen that redirects you your KYC page.
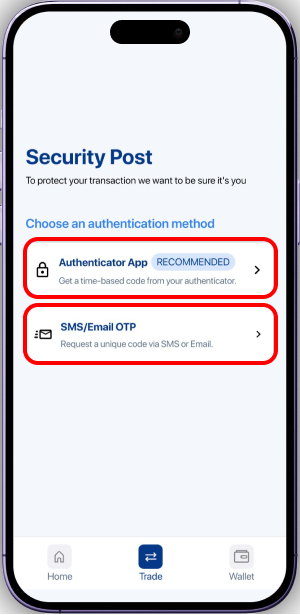
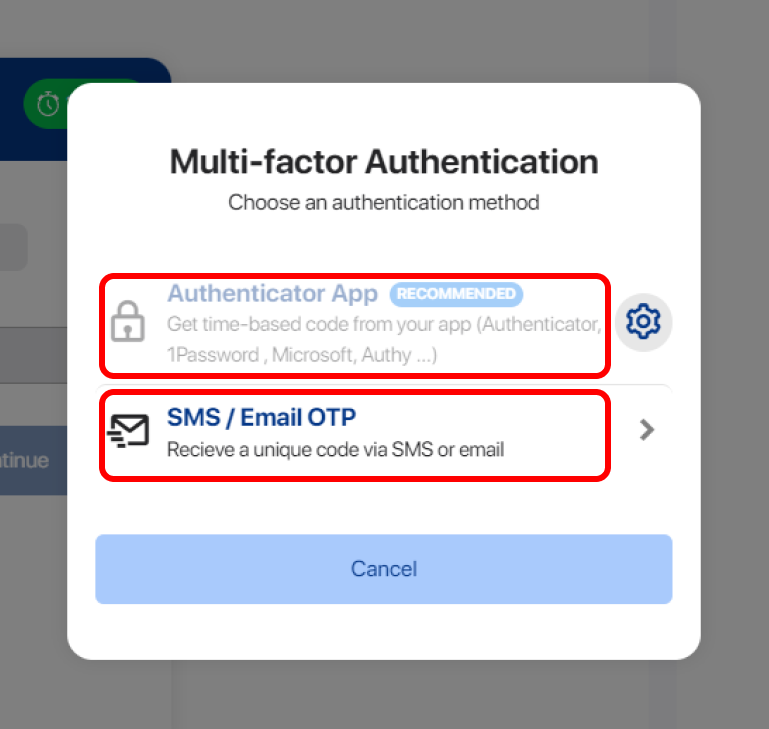
4. Choose a verification method
Next, you will be provided with a screen asking you to select a method of user validation (this is a form of user verification to ascertain ownership of the SenexPay profile conducting the transaction). You can choose the authenticator app if already have your SenexPay App linked to your authenticator app, otherwise, select the SMS/Email OTP option and we'll send an OTP to your registered phone number and Email address.
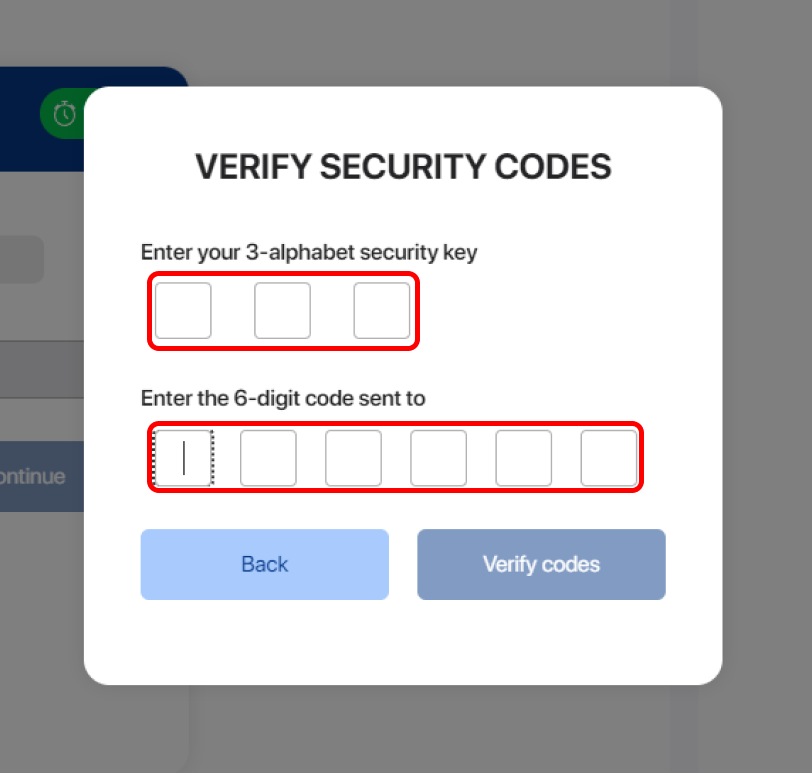
5. Security check
To complete the verification process, you need to enter your 3-key security code and a 6-digit code from either an SMS or Email if you choose that option else get the code from your authenticator app.

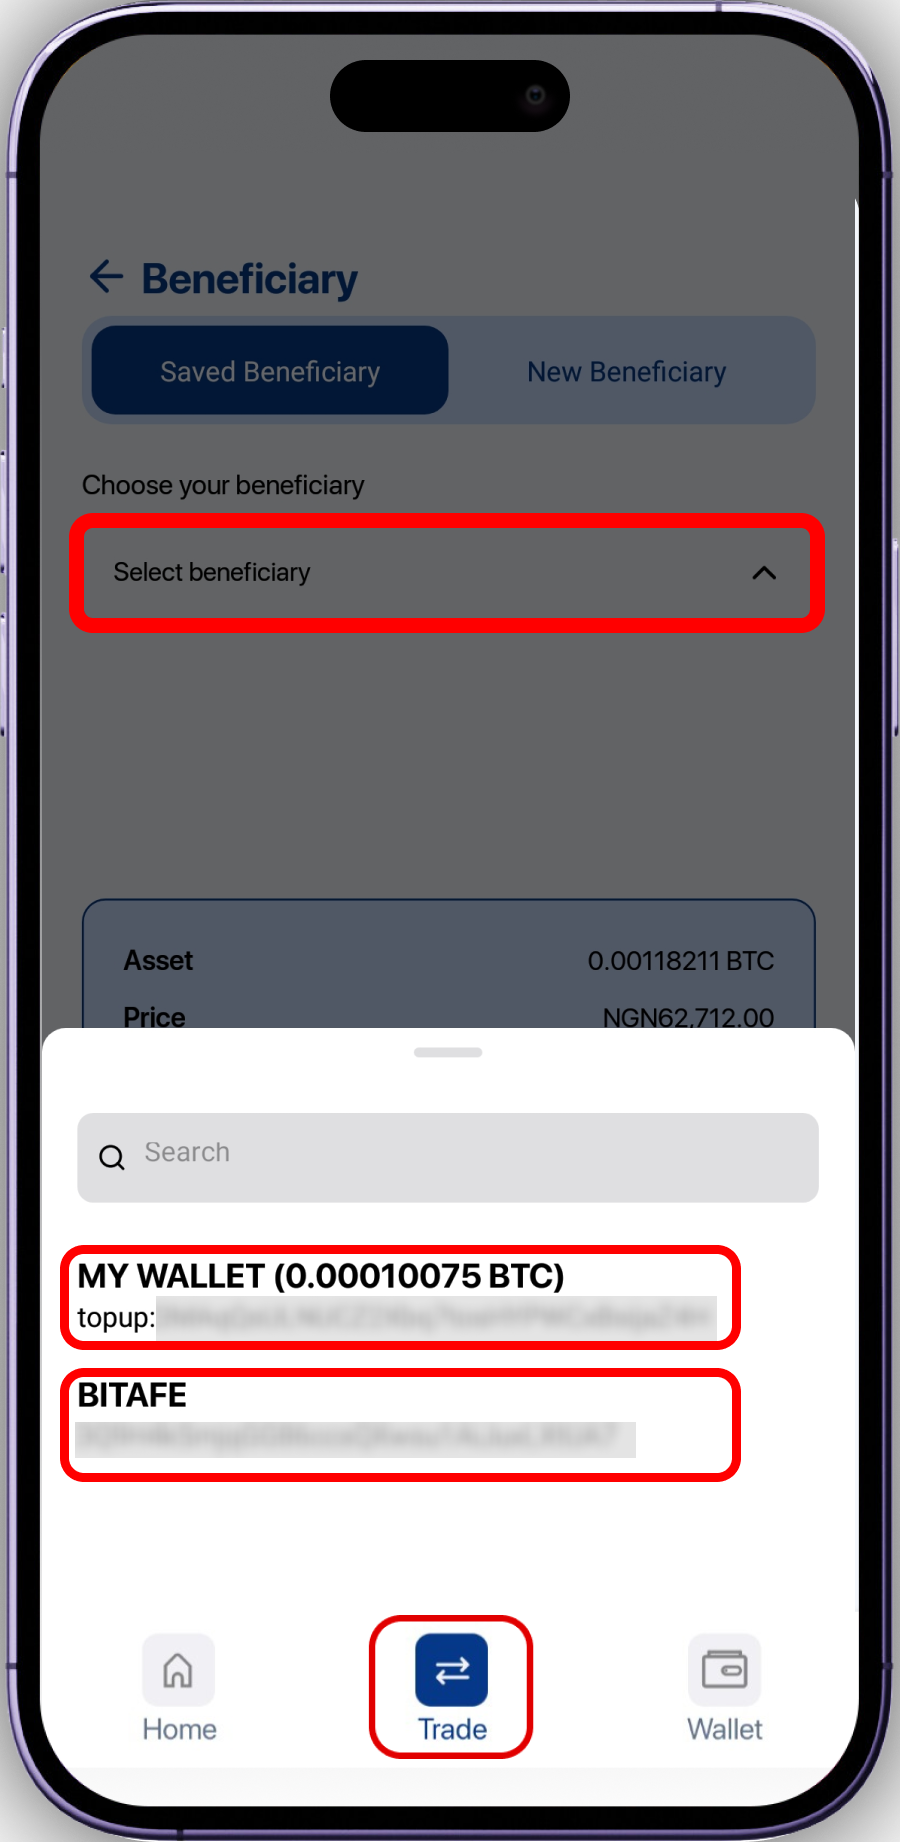
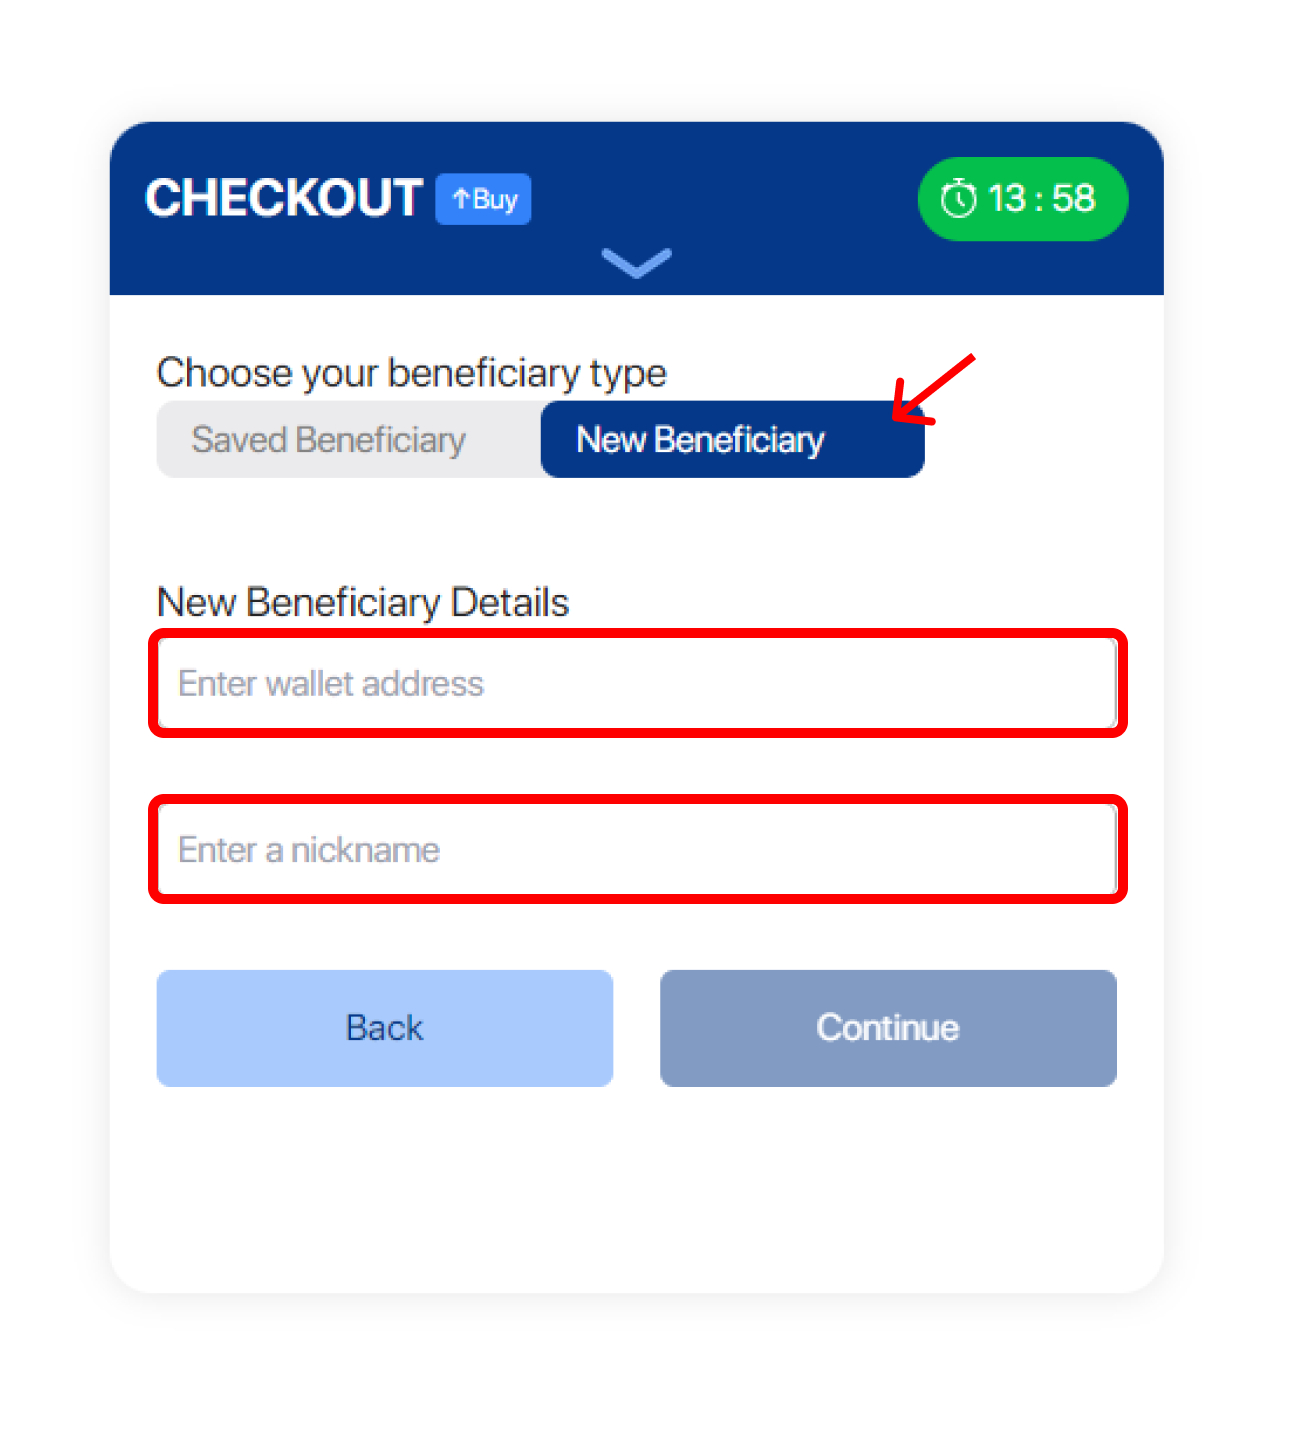
6. Create or choose a beneficiary
Select a saved wallet beneficiary or create a new wallet beneficiary with the wallet address to where you will want your coin sent after making the purchase. You can also buy directly into your SenexPay crypto wallet by selecting "MY WALLET" underneath the "Select beneficiary" option. Select the "continue" to proceed after choosing a wallet address.
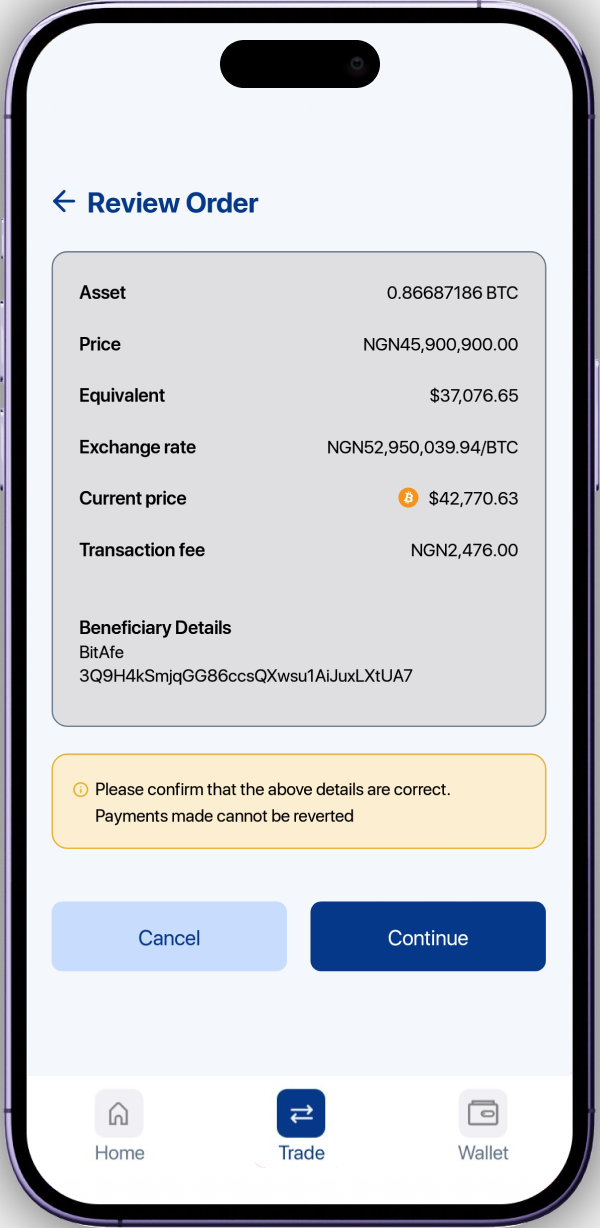
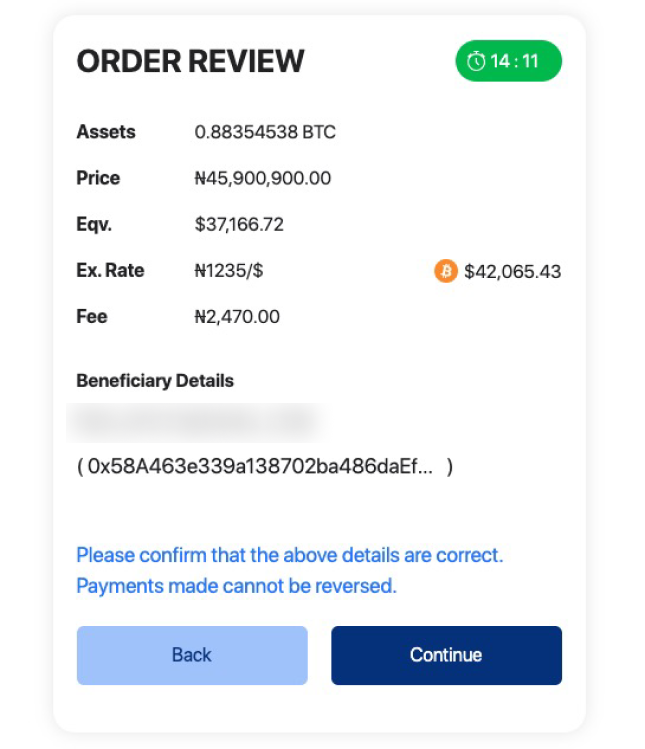
7. Review your purchase order
You will come across a "Review order" page showing you a review of the order you're about to create. Select the "Continue" option, read the payment instructions, and tick on "I understand" to continue with your order.
8. Make your payment
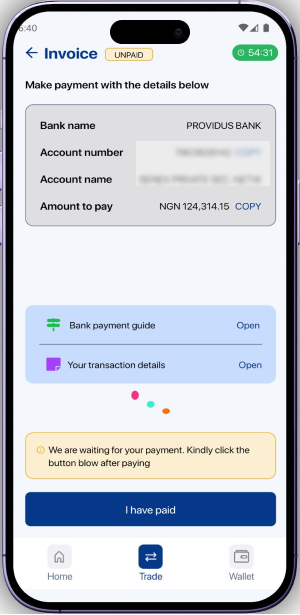
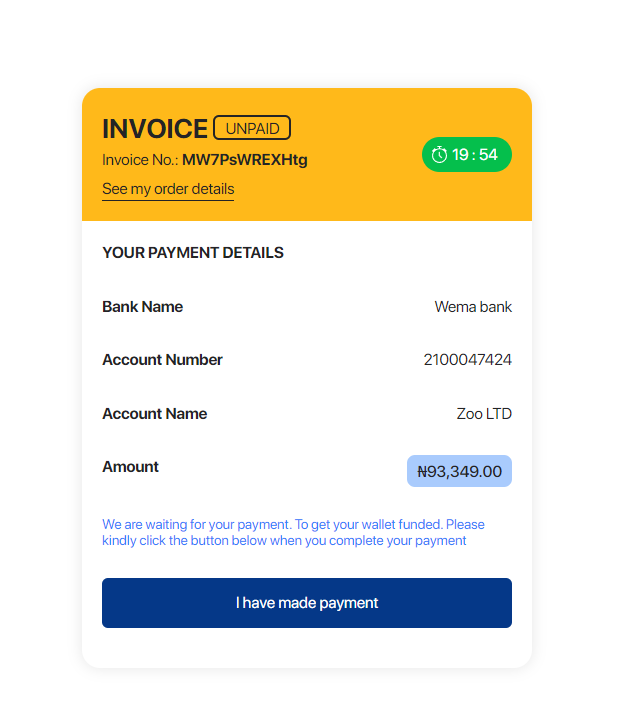
NB - I have paid button is usually displayed for OTC (Over The Counter - higher exchange value) trades.
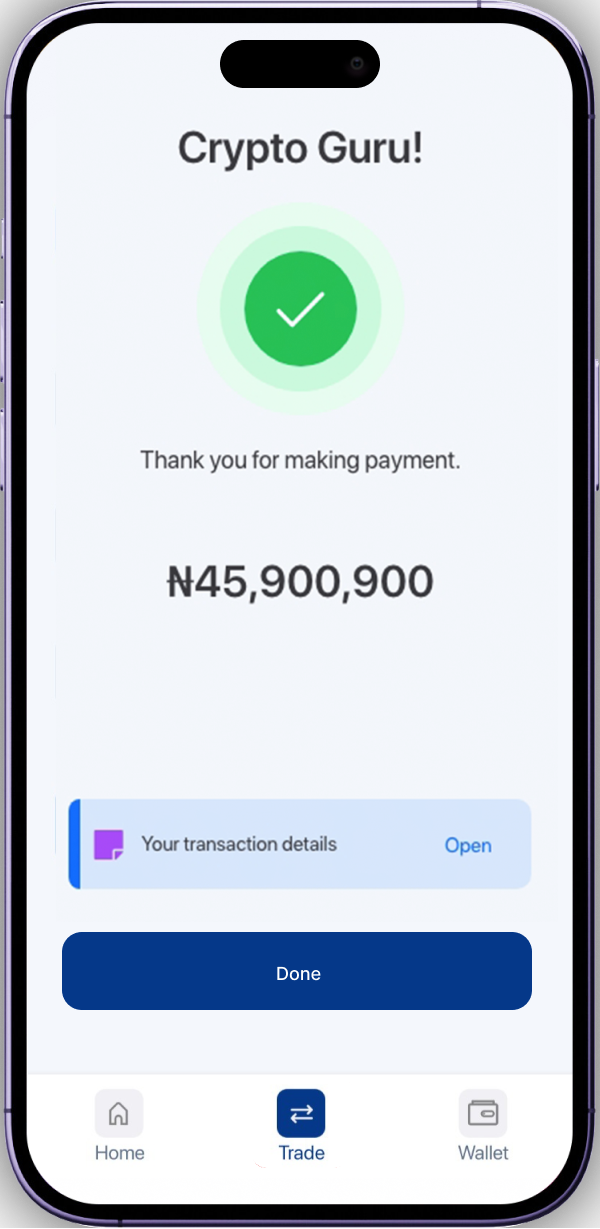
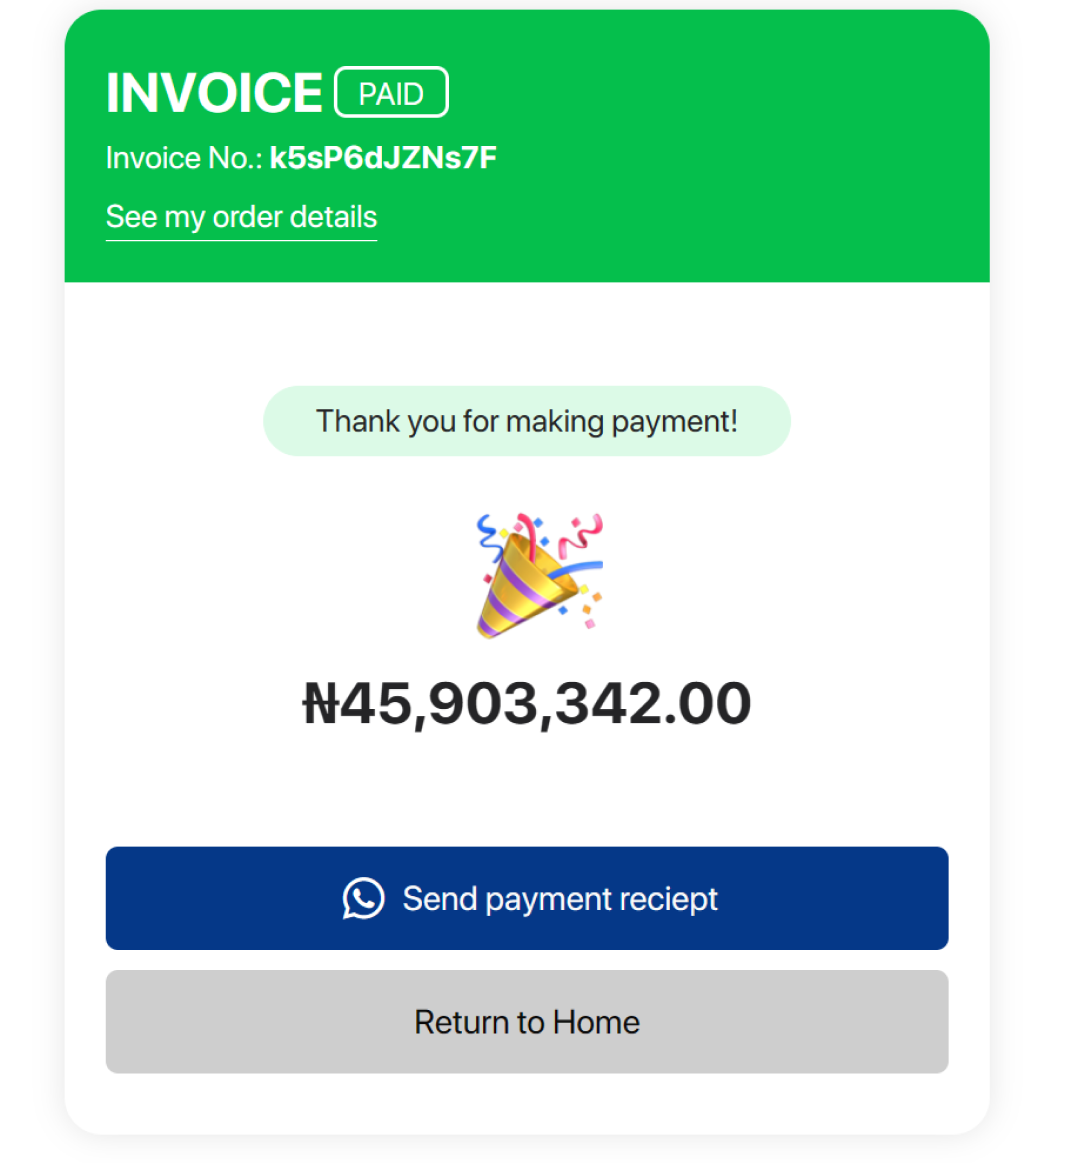
That's it, Buddy!
Your coin will be auto-disbursed immediately after your payment is confirmed.


