How to Send Bitcoin, Ethereum, USDT and other Cryptocurrencies

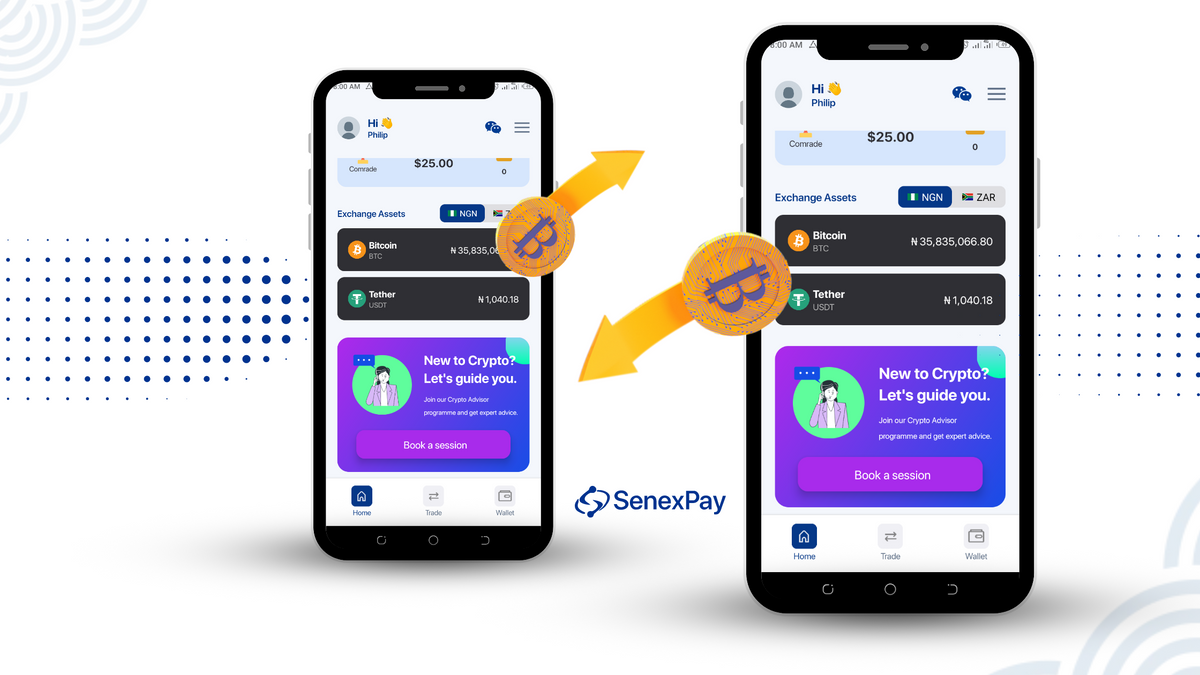
Welcome to the world of cryptocurrency transactions, where digital assets flow seamlessly across the blockchain. At SenexPay, we're dedicated to simplifying the process of sending cryptocurrencies, making it accessible to everyone.

In this comprehensive guide, we will take you on a journey through the step-by-step process of sending digital currencies using our user-friendly platform. Whether you're a seasoned crypto enthusiast or a curious beginner, we're here to empower you with the knowledge and tools you need to navigate the world of digital transactions confidently.

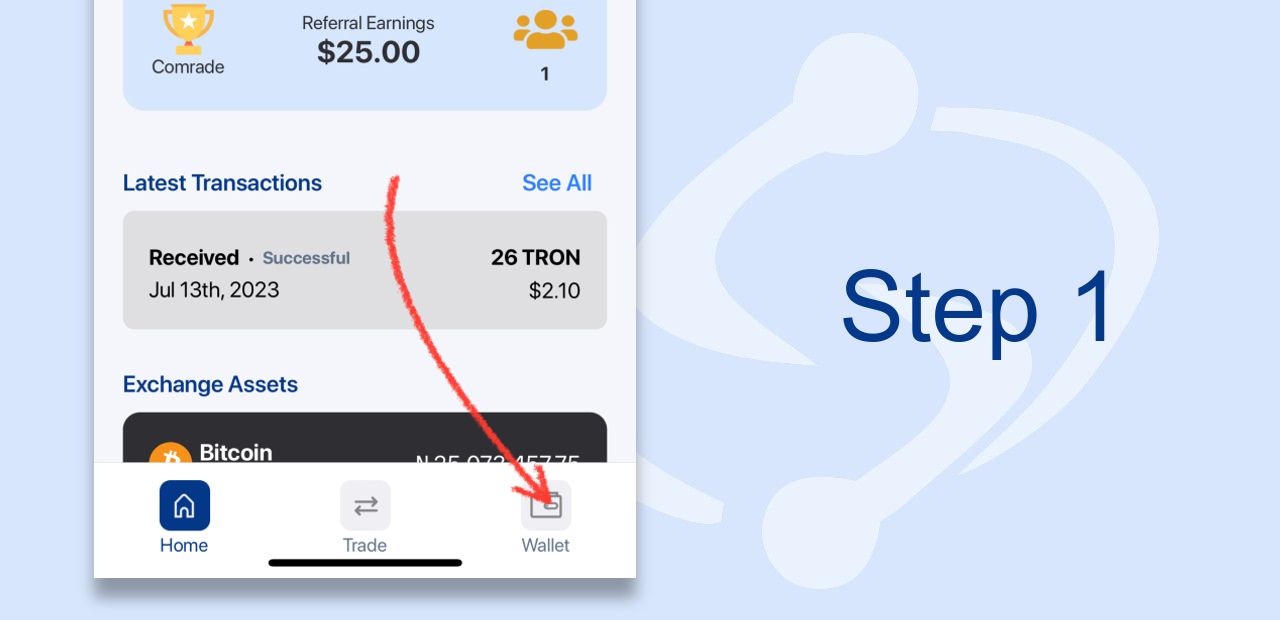
Step 1: Accessing Wallet Page

Navigate to the wallet page by pressing the wallet icon at the bottom right of your wallet dashboard.

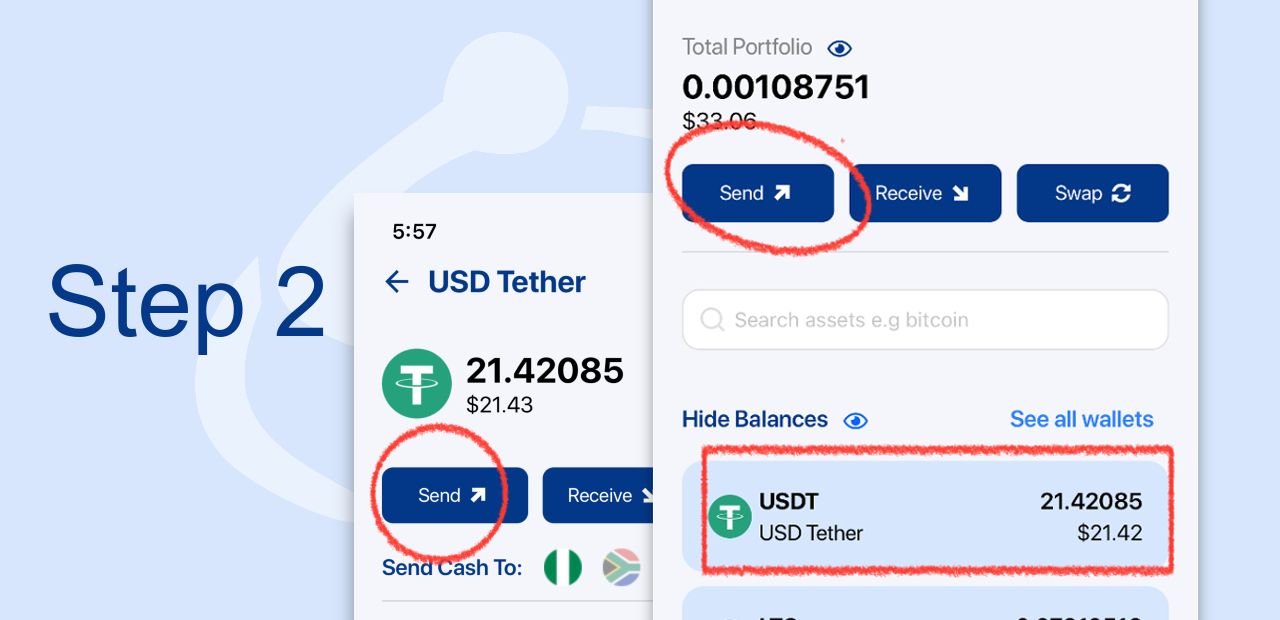
Step 2: Pick your desired asset

Hit the send button then proceed to select your desired asset OR Select an asset right on the wallet page and select "Send" on the screen that follows after.

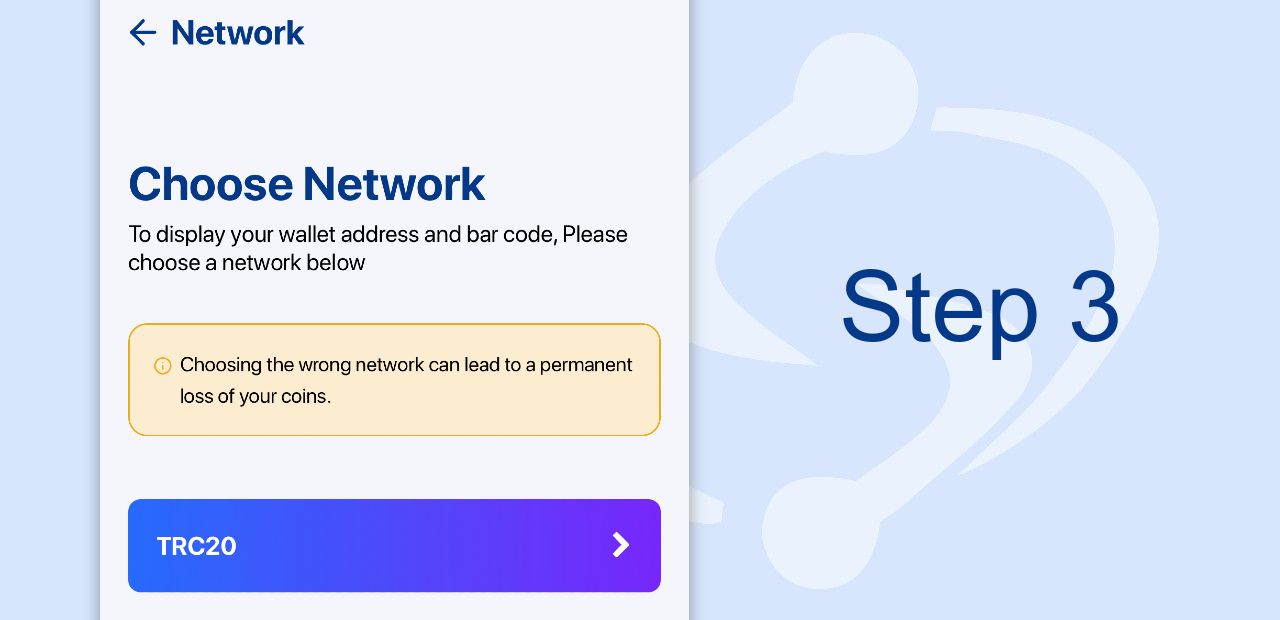
Step 3: Choose sending network

Certain assets can be referred to as tokens as they run on a parent chain. It is very important that you are sure about your selections as specified by the receiving address. A wrong choice can lead to permanent loss of funds. For now this applies to USDT, USDC and BUSD assets.

Step 4: Provide recipients details and amount

Enter an amount in the value of the selected crypto asset. The equivalent Dollar(USD) value will be shown to the bottom right of your input. You can also choose to enter a dollar value and let the system come up with the crypto equivalent (Tap on "Enter USD instead"). The "Wallet address lets you paste and address you copied, select from and saved existing beneficiary OR scan an address QR code.

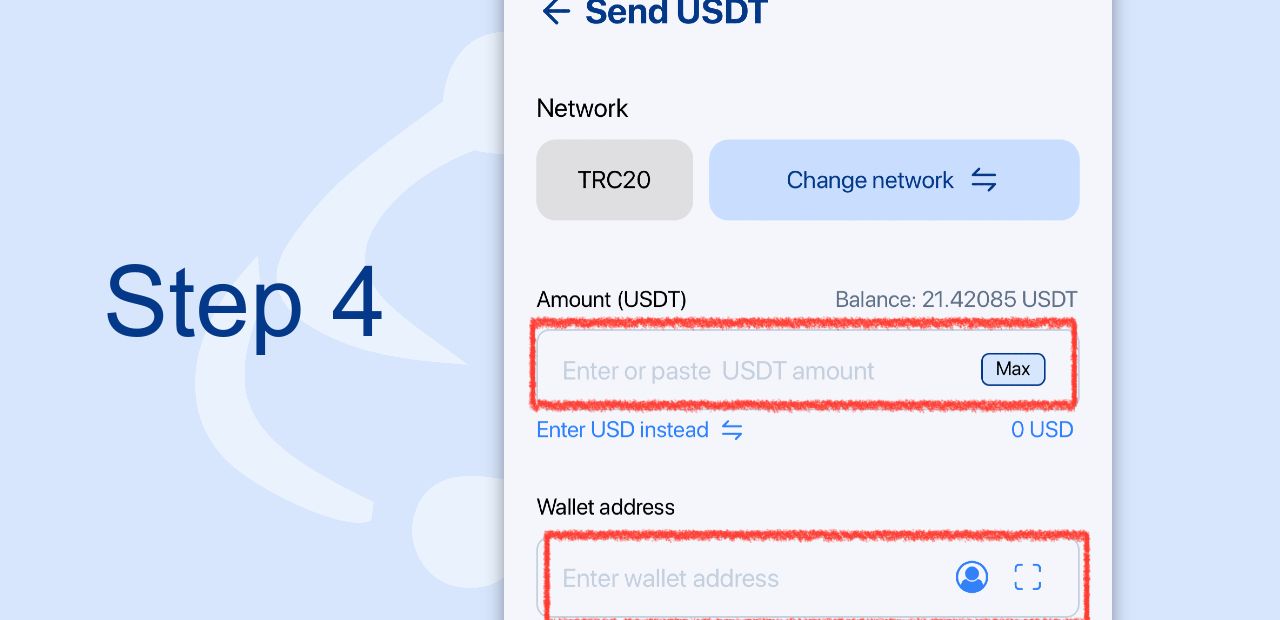
NB - You may experience any of the following setbacks when trying to send. Here is what they are and how you should go about them.

  • When sending non-native assets(leverages on 3rd party chains), fees for such transactions are charged from the native asset and as such you want to ensure you have it setup with enough funds to cover for your fees.
  • In trying to send out the whole amount from any particular asset, ensure to leave out a negligible fraction to cover for network fees on the chain (These fees may vary depending on network congestions and the specific blockchain).

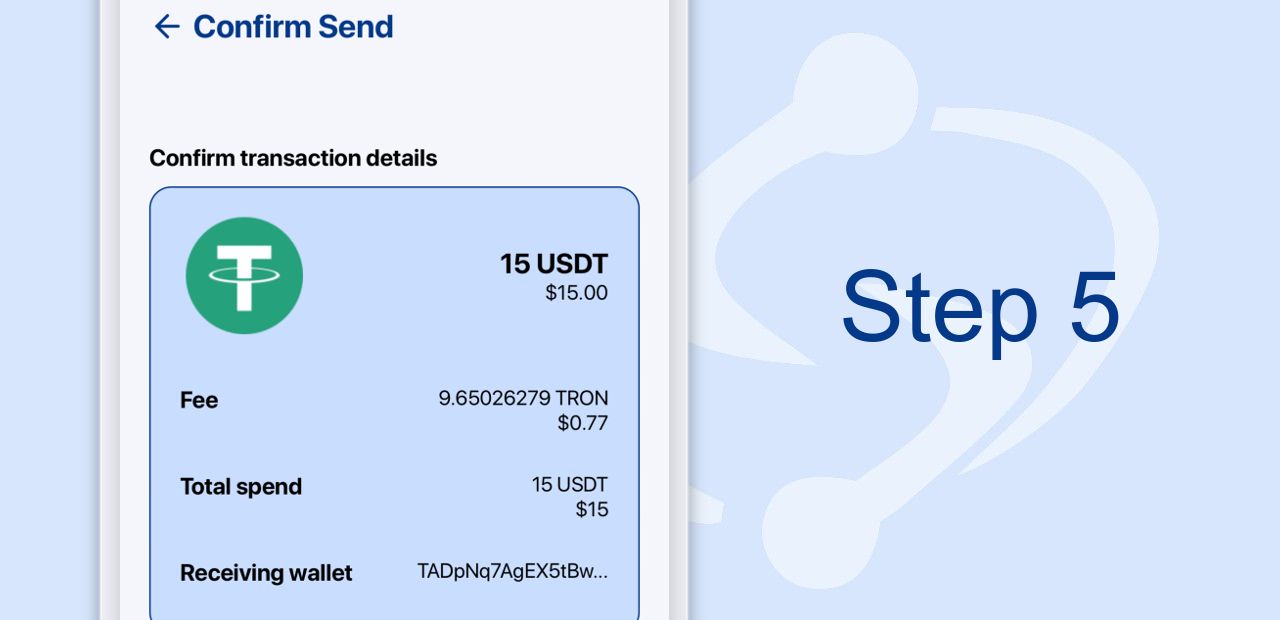
Step 5 - Confirm transaction details

Double-check the information you provide, including the recipient's wallet address and the crypto amount you wish to send. Also check to see you are comfortable with the network's fee for that particular transaction.

Viola!! - You have conquered your village people

Your funds is on it's way and will be completed after one(1) or more successful block confirmations on the blockchain. You should be able to track the status using the HASH that will be provided once the transaction has been broadcast.

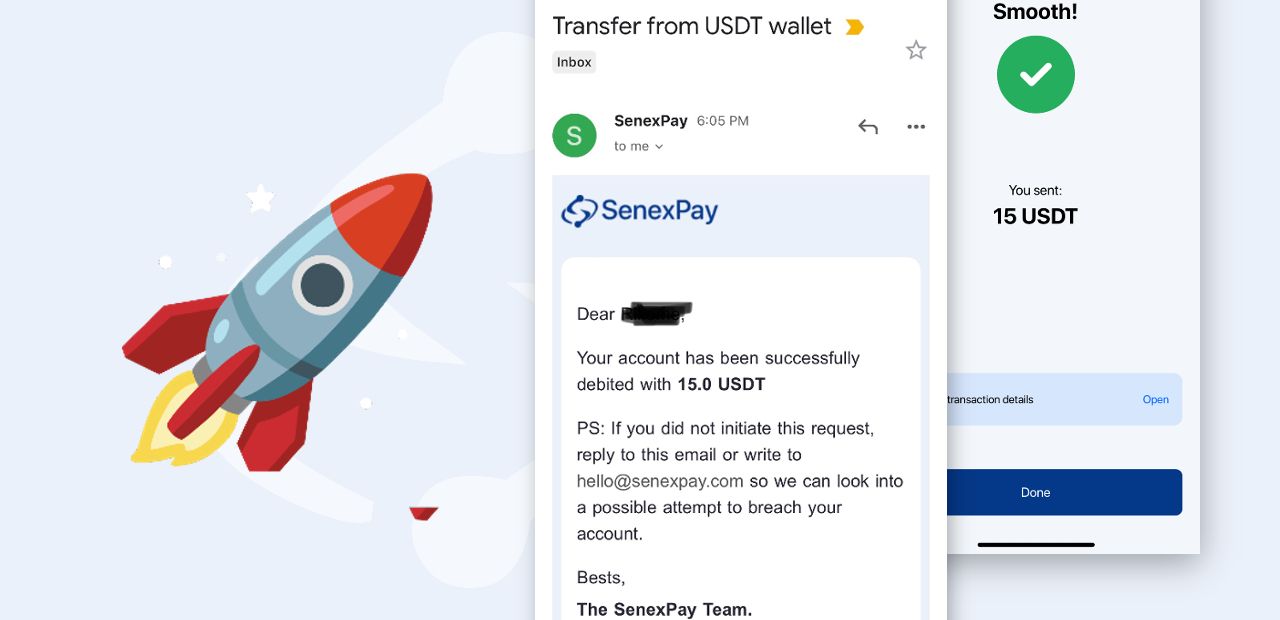
Congratulations on mastering the art of sending cryptocurrencies with SenexPay! By following this comprehensive guide, you now have the knowledge and confidence to navigate the process smoothly.  Embrace the future of finance with SenexPay, and let the power of digital currencies transform your financial landscape.


Introducing >Send Cash<

Unlock the power of seamless cash transfers directly from your crypto balance to any bank account.

You've successfully subscribed to SenexPay Blog | Crypto News and Information
Great! Next, complete checkout to get full access to all premium content.
Error! Could not sign up. invalid link.
Welcome back! You've successfully signed in.
Error! Could not sign in. Please try again.
Success! Your account is fully activated, you now have access to all content.
Error! Stripe checkout failed.
Success! Your billing info is updated.
Error! Billing info update failed.